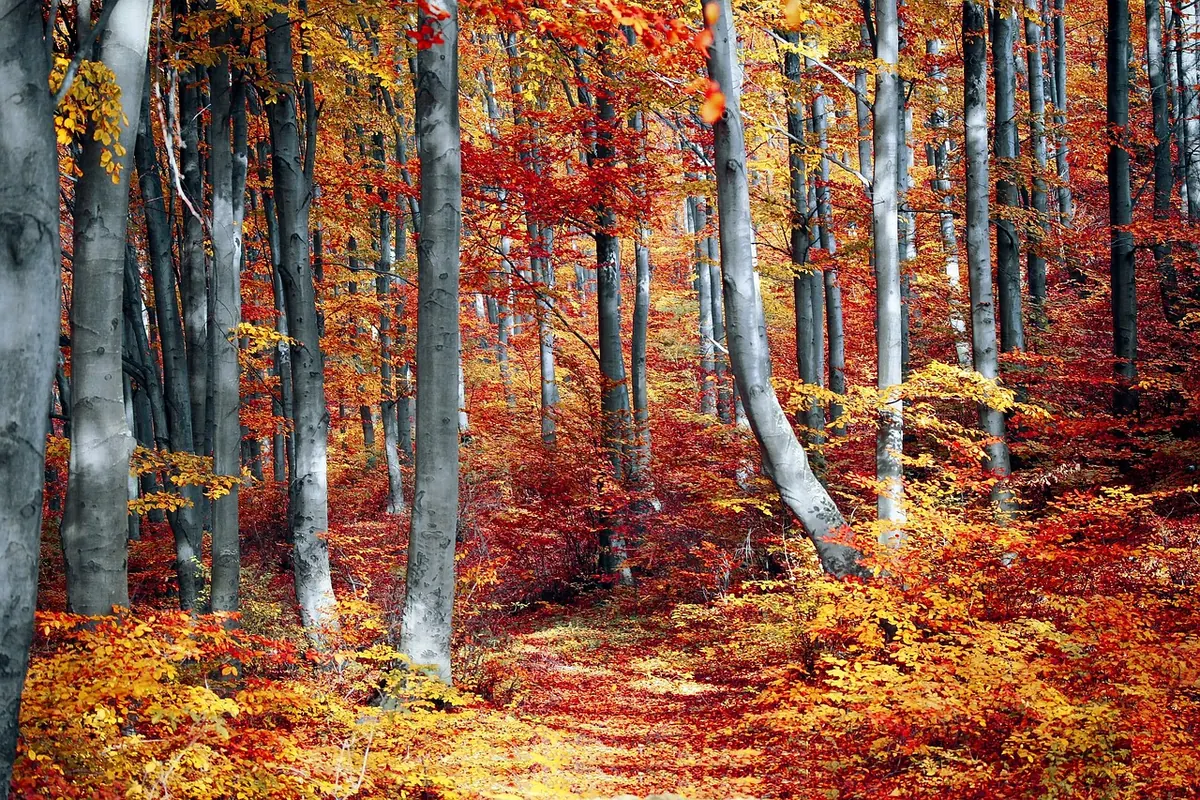
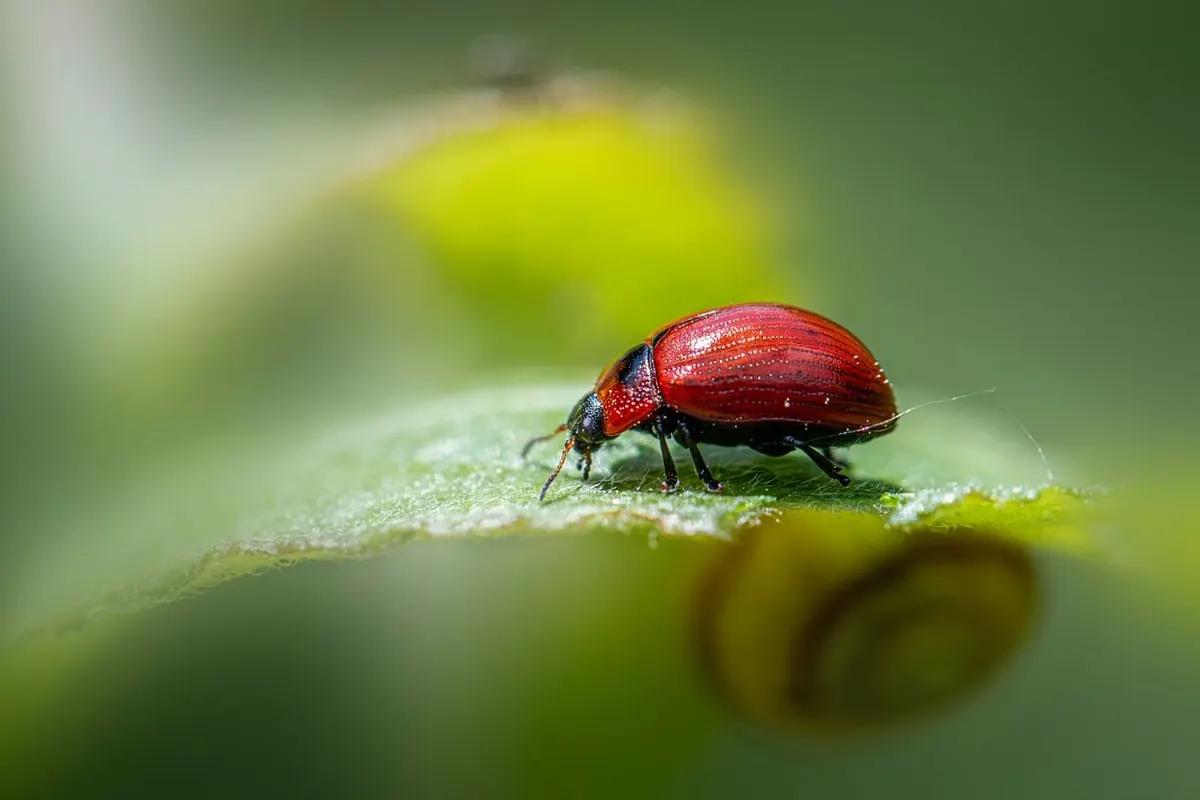
Common Mistakes on Woodland Photography Walks (and How to Fix Them)
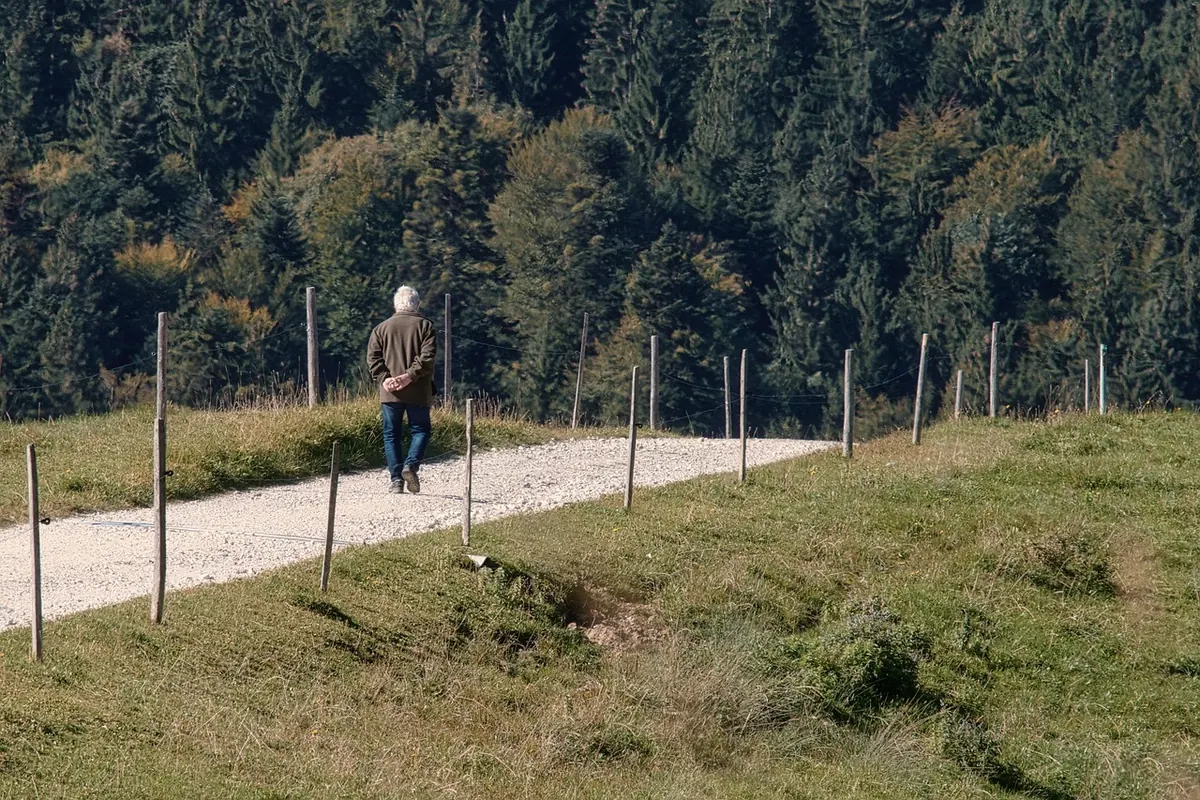
Woodland photography looks forgiving. The trees aren't going anywhere, the light is filtered, and there seems to be something worth photographing in every direction. Then you get home, open the files, and find a hundred frames that all describe the same walk without actually saying anything about it.
Most of the problems aren't technical. They're habits — the way we move through a wood, the way we look, the moment we decide a picture is finished. What follows are the ones that turn up again and again, along with the fixes that work.
Almost every woodland walk starts with a burst of energy. The light is lovely, the path curves out of sight, and there's a compulsion to keep moving in case something better is around the next bend. Two hours later you've covered four kilometres and made three hundred frames, none of which you'd print.
The fix sounds almost too simple: give the first hundred metres an hour. Walk the path once with the camera in your bag, looking only. Note where the trunks line up, where the ground opens, where a shaft of light will fall if the sun clears the ridge. Then turn around and walk it again, stopping only where you already know there's a picture.
It also helps to sit down. Five minutes on a fallen log changes what you see — the wood stops being scenery and becomes a place with a floor, a ceiling and a middle layer. Small things appear: a curl of bark, a snail on a fern, the way moss holds water after rain.
Many woodland photographs fail before the shutter is pressed because the photographer never asked what the light was doing. Dappled sun through a full canopy is the classic trap: it looks magical to the eye and turns into a scatter of bright blobs on the back of the camera.
Decide what the light is doing, then decide what to photograph. Hard midday sun is difficult for wide woodland scenes but excellent for texture — bark, lichen, the grain of a weathered gate. Backlight at the edge of the wood makes leaves translucent and separates branches from shadow. Flat overcast light is the friend of ferns, fungi and bluebells, because nothing is competing for attention and colours stay saturated.
If you can, walk the same stretch at two different times in the same week. Morning and late afternoon look like two different woods, and you'll learn more from the comparison than from any tutorial.
Stand still for a moment and ask where the sun is, how high it is, and whether the canopy is breaking it up. If the answer is "everywhere at once", move to the edge of the trees or come back later. There is no setting that rescues light you haven't understood.
The most common composition mistake in a wood is adding. A nice trunk, plus a nice fern, plus a nice patch of light, plus a path — and the resulting picture has no centre because everything is claiming to be the subject.
Try subtraction instead. Choose the subject before you raise the camera, and then remove everything that isn't helping. A short check before each frame keeps you honest:
Woods are visually noisy by nature. A photograph that includes less usually says more.
Standing at eye level is comfortable and it's how we see the world all day, which is exactly why it produces ordinary pictures. The forest floor is a whole landscape that most photographers never visit.
Kneel for the fungi. Lie down for the moss and the low ferns with the trunks rising behind. Tilt the camera upward and let the canopy fill the frame, watching how the branches converge. A fallen log photographed from six inches away becomes a ridge line; the same log from standing height is just a log.
Bring something dry to kneel on. It sounds trivial until the ground is wet, and wet ground is often when the wood looks its best.
Menu-diving in the middle of a wood is a reliable way to miss the moment when the light does something interesting. Set the camera up before you walk in, and set it up for the conditions you actually expect.
Aperture priority with a mid-range aperture is a sensible default for most woodland work — enough depth of field for a trunk and a fern to both be sharp, without dragging the shutter into blur. In shade, raise the ISO before you sacrifice shutter speed: a slightly grainy sharp frame beats a clean smeared one. If you're hand-holding, keep the shutter at least as fast as one over your focal length, and faster still if you're close to your subject. Use a single focus point and place it deliberately; wide-area modes love to lock onto a bright leaf behind whatever you wanted.
Then stop checking the screen after every frame. Review in batches, or not at all until you're back at the car. The walk is the part that makes the pictures.
Sunshine feels like photography weather, so the camera stays home through fog, drizzle and the grey hour after rain. This is backwards. Wet woods are richer in colour, fog separates the layers of a forest beautifully, and overcast light removes the contrast problem that ruins so many canopy shots.
Go out anyway. Dress properly, keep a cloth for the lens, and give the camera reasonable protection without babying it. A wood in mist at eight in the morning is worth more than a dozen bright afternoons.
Slow down, look up, and take fewer photographs that mean more. The wood will still be there tomorrow, but this light won't be.
Five minutes of preparation makes the rest of the walk easier. Check the weather and the time of sunrise or sunset so you know what light you're likely to meet. Set aperture priority, choose your ISO for the shade rather than the open path, and switch to single-point focus. Clear the memory card and charge the battery the night before, because woodland sessions eat both. Decide on one thing you'd like to come home with — a backlit leaf, a fungus at ground level, the pattern of trunks in fog — and let that intention guide where you stop.
Finally, be kind to the place. Stay on established trails where they exist, keep off moss and young growth, and never move a fallen branch to improve a composition unless it's already loose and dead. The best woodland photographs tend to come from people who spent more time looking than walking, and who left the wood exactly as they found it.
Photo: Antranias / Pixabay
Previous Post
Wide-Angle vs Telephoto Lenses for Forest Photography: Which to Choose
Next Post
A Seasonal Guide to Photographing Bluebells in English Woodlands