Wide-Angle vs Telephoto Lenses for Forest Photography: Which to Choose
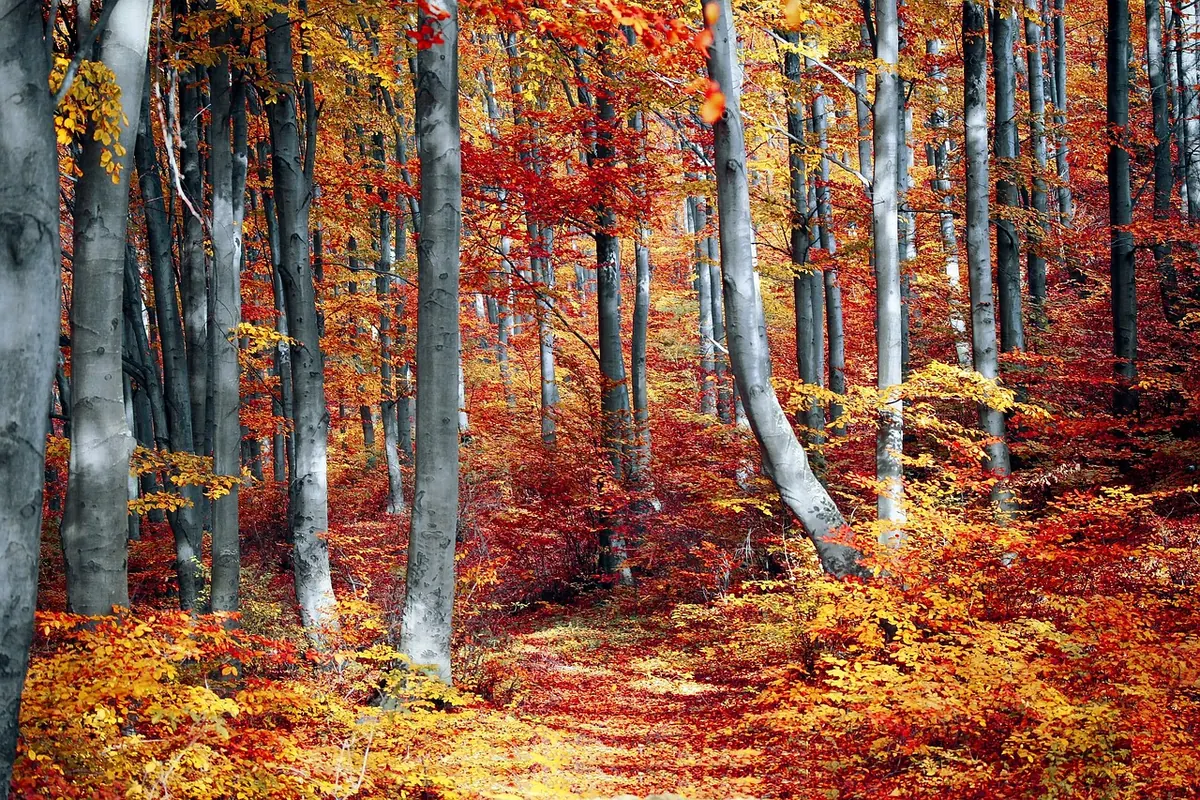
A forest can look like two different places depending on which lens is on the camera. Stand on a trail in beech woods after rain, and a 16mm lens pulls you into a damp, curling world of roots and moss with the canopy arching overhead. Put a 200mm on the same tripod and the trunks behind the nearest tree stack into a dense, quiet wall of grey and green. Neither picture is more true. They answer different questions, and the trick is knowing which question you are asking before you start walking.
Lens choice changes three things at once: how much of the scene fits in the frame, how the space between objects reads, and how much detail survives. In woodland, where the subject is usually a tangle of trunks, branches and undergrowth, those effects matter more than they do on open ground.
Wide-angle lenses — roughly 14mm to 35mm on full frame — exaggerate distance. Anything close to the front element grows; anything far away shrinks. That is why a fern two steps from your boots can dominate a picture that also contains a fifty-metre oak. The same effect stretches the corners, which is either a useful sense of movement or an ugly smear of leaves, depending on where you point it.
Telephoto lenses, from about 70mm upwards and especially in the 100–400mm range, do the opposite. They compress. The gaps between trunks seem shorter, distant ridges of fog sit closer to the trees in front of them, and a line of birches reads as a pattern rather than a scattered group. The narrow field of view also strips out the messy edges of the frame, a real advantage in young, scrubby woodland where every corner has a bramble in it.
Neither is the "correct" forest lens. Wide-angle is not automatically for landscapes and telephoto is not only for wildlife; some of the strongest woodland work happens at 200mm or more.
A wide-angle forest photograph lives or dies by its foreground. With so much space in the frame, the viewer's eye needs somewhere to land in the first metre or two. Look for a fallen branch, a cluster of mushrooms, a moss-covered boulder, a puddle reflecting the canopy, a path curving away. Get low — knee height or below — and let that object anchor the bottom of the frame while the trunks carry the eye upwards and back.
The most common wide-angle failure in woodland is a frame that includes everything and commits to nothing: a strip of dull sky, an empty carpet of leaves, and trees that all sit at the same distance. Move two metres, drop lower, or find a subject to put in front of the lens.
Telephoto work rewards patience more than position. Instead of moving closer, you step back and let the lens gather the forest into layers. This is where fog becomes useful: each ridge of trees fades a little more than the last, and the gaps between them read as separate planes rather than one flat mass. Early morning in a valley, or the hour after rain while mist is still sitting in the canopy, is the time to have the long lens mounted.
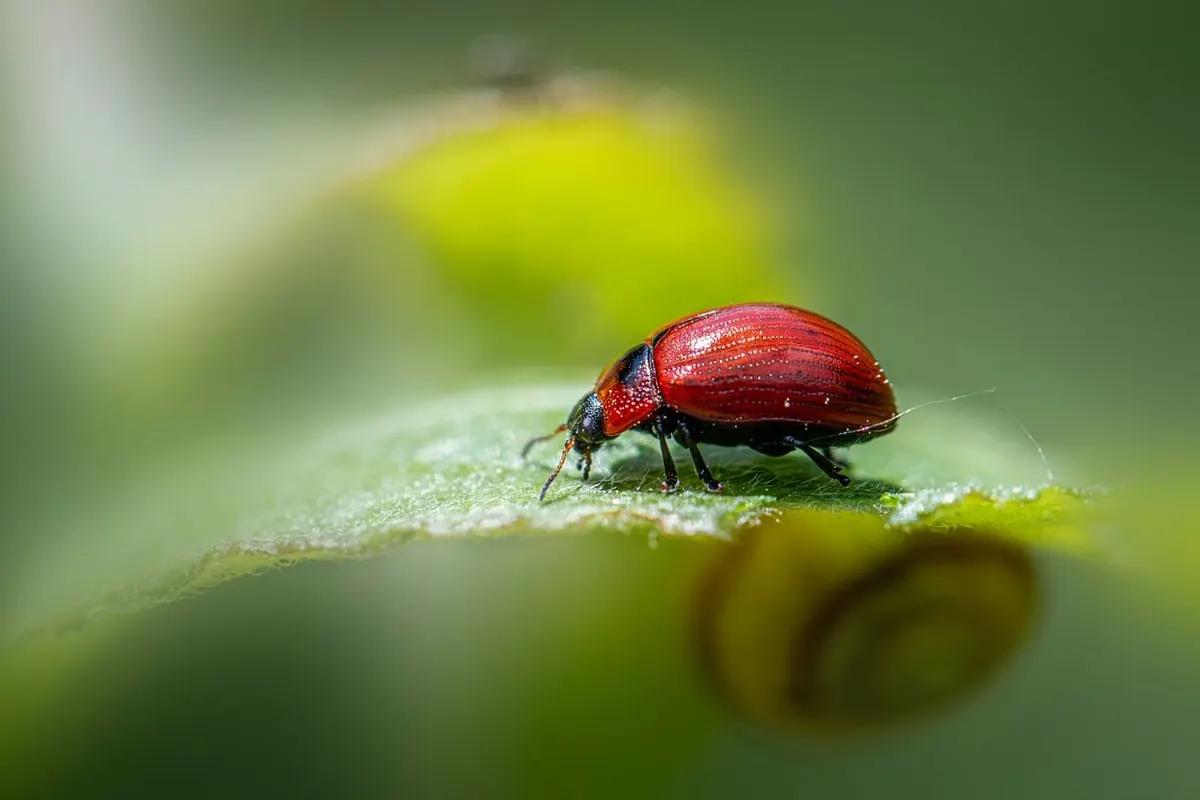
The same lens is excellent for detail. A single backlit leaf, frost on a spider's web, bracket fungus on a fallen log, the pattern of bark on a Scots pine — all of these are easier to isolate at 200mm than at 24mm, because the narrow field excludes distractions you would otherwise have to edit out. Wider apertures separate a subject from busy undergrowth behind it.
Woodland is dark, and a 300mm lens in shade pushes shutter speeds down quickly. A sturdy tripod with a collar mount steadies the lens where it balances, and a remote release or two-second timer removes the last wobble. When you handhold, keep the shutter speed at or above the reciprocal of the focal length as a starting rule, and higher again if a breeze is moving the leaves. Image stabilisation helps with your hands, not with the wind.
Focus on the element you actually want sharp — the nearest branch, usually — and check that the aperture still leaves enough depth for the subject. At 300mm and f/8, a few metres of forest behind the subject will already be soft.
Most photographers have a default lens and a default way of seeing. Breaking that habit gets easier if you decide what the picture is for before you unzip the bag.
Both answers can be right on the same walk. A wide zoom plus a 70–200mm covers most woodland situations, and many photographers find a 24–105mm or 24–120mm a reasonable single-lens compromise when weight matters more than extremes.
Next time you find a spot that stops you, spend twenty minutes there rather than two. It is the fastest way to learn what each focal length really does among trees.
Repeat this a few times and the decision stops being theoretical. You will start to see the compressed shot while standing in the wide one.
Weather should guide your first choice. Flat, grey light with mist suits the long lens, which turns haze into structure. Bright sun through a canopy suits wide-angle, where you can use shafts of light and deep shade in the same frame, and where a small aperture keeps both readable.
Pack light but not too light. One wide zoom, one short telephoto, a polarising filter, a cloth and a tripod you will actually carry beat a bag of primes left in the car. Check the forecast for wind: if the canopy is moving, favour wider shots where motion matters less and save the long-lens detail work for still mornings.
Above all, decide before you compose. Ask what you want the viewer to feel — enclosed and small, or observant and distant — and pick the lens that answers it. The forest will still be there tomorrow, and you can always come back with the other one.
Photo: Joshua_Willson / Pixabay
Previous Post
Building a Forest Photo Story: A 10-Image Narrative Checklist
Next Post
Common Mistakes on Woodland Photography Walks (and How to Fix Them)